This article was originally published as a 3 part series between March 31 and April 14, 2017 at Medium.com
 At a harvest festival several years ago, I walked up to a booth and talked to the vendor who claimed to use the equipment on display to make wine at home. I was dubious when he suggested that I, too, could make good wine. I had just spent the afternoon wandering through beautiful tasting rooms, talking to the professionals, and being awed by the mystery of turning “water into wine.” My understanding from enjoying commercial wine was that winemaking took education; many years of practical experience; and a talent for growing grapes. I was convinced that all I would ever be able to make was vinegar!
But the idea intrigued me. I listened closely during winery tours and asked questions about grape growing and the aging process. I wasn’t always sure what questions to ask, but I knew that winemaking required a body of knowledge that grew from experience and required expertise before anyone would venture into it. Like many, I was intimidated. And I may never have crossed the threshold of home winemaking without a gift from my husband. He had been listening to my secret wish for years and surprised me with two gifts: A wine equipment kit and a wine ingredient kit. It was the beginning of a beautiful relationship!
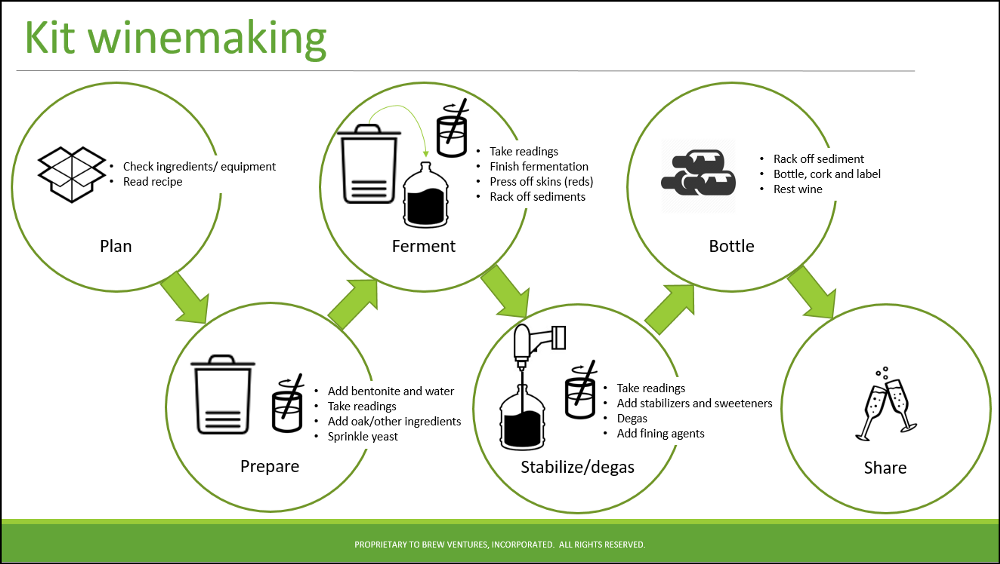
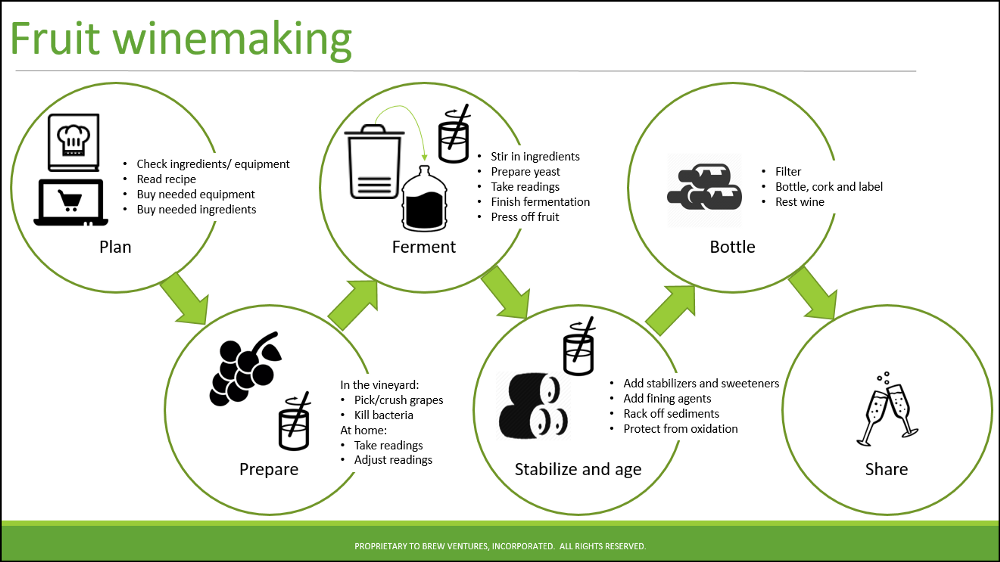
Making homemade wine in a nutshell:
If you start with juice and yeast, the yeast eats the sugar and leaves wine and carbon dioxide behind. Everything needs to be clean when you start and preserved before bottling, otherwise it can turn bad quickly. That’s all there is too it!
Exploring the supplies
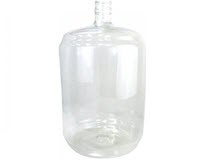
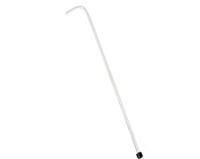
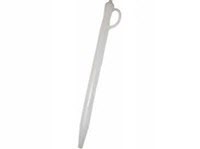
We opened our kits with anticipation only to pull out information and equipment that caused puzzlement. What were these tools in the equipment kit? We had two big containers, a hose, a crooked tube, a smaller tube, a long spoon and a thermometer. I had a mysterious weighted glass object, a rubber stopper with a hole and 3-piece clear plastic cup. The box said it contained a siphon hose and a racking cane. It claimed a carboy and a primary fermenter. What was a hydrometer, airlock or a wine thief? Why didn’t the list on the box come with photos? There was a glossary, but I couldn’t exactly match all items to this new terminology.

Thank goodness for Google, but the research took a whole afternoon! It was there that we learned even the cleaner provided with our equipment kit was special. We couldn’t use our dish soap unless we wanted our wine to taste like Palmolive!

Some supplies that came with our kit:
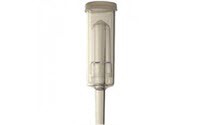
Airlock — The 3-piece clear plastic cup was an airlock, a one-way valve to allow CO2 out of the wine, but preventing oxygen from entering. Used with a bung to cork the carboy and protect the wine from oxidation.
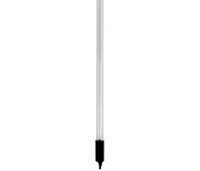
- Bottle filler
Bottle filler — The smaller tube in the kit that we didn’t understand even after finishing our first few wines. This tool is used at the end of the racking cane and hose with a spring stopper at the end. If only we had known it limits the amount of wine going into bottles while filling, our bottling events would have been so much simpler. Without it, we pinched the end of our siphon hose— Messy!
Exploring and understanding the winemaking kit seemed simple enough. There was a bag of juice, a yeast packet, a packet of oak chips and some other packets all numbered appropriately and referenced in the steps. This felt like a do-able process!
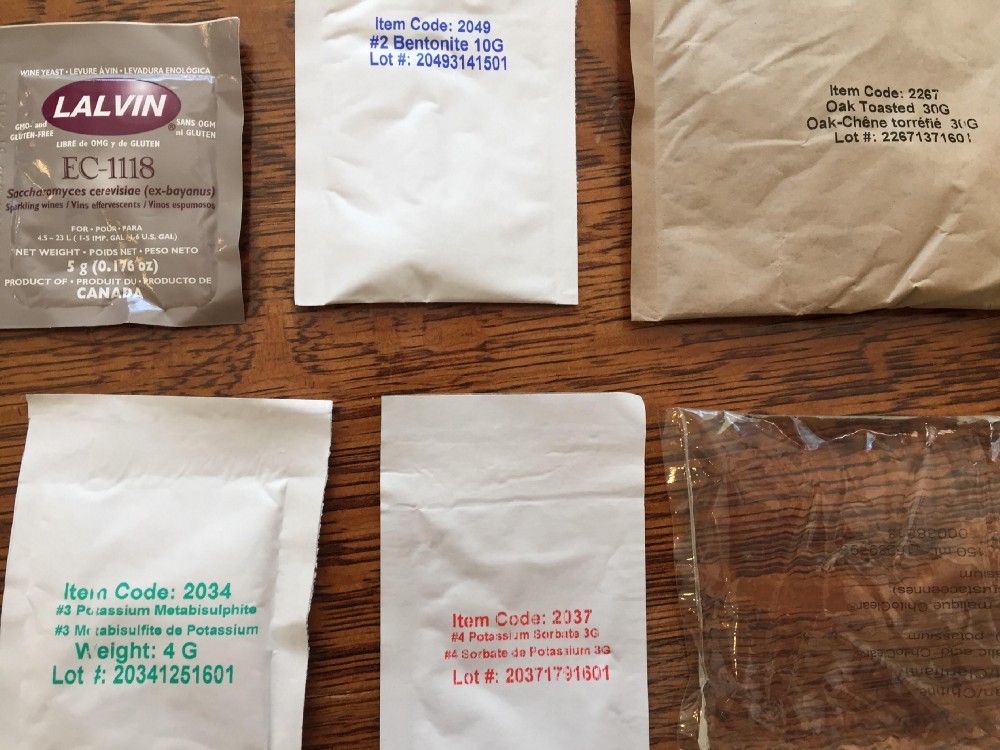
However, the preparation steps were much more concerning. It was clear that we needed to be aware of “sanitizing” our equipment before starting our kit, but I didn’t understand how sanitizing was different from cleaning and what it took to do it. For people in the food industry, sanitizing may be an easy concept. The only thing I’d ever sanitized was a toilet bowl! I didn’t know what was used to sanitize food equipment nor how much I would use to do the job. The kit instructions tried to explain, but it described a chemical called metabisulfite to do it. My fear of failing at my new hobby before I even got started grew bigger. Where did one buy metabisulfite and why didn’t it come with one of the kits???
Lessons I learned
- Kits don’t come with everything you need.
- I needed new skills and vocabulary.
- Having a husband that pays attention to your emerging interests is a gift itself.
After all this, I was excited to get started, but I was still anxious about what I didn’t know. Would I mess it up?
What every new home winemaker should know
My research had shown that kits were the easiest way to start making wine, but after getting a kit and had reading the instructions, I realized I didn’t have everything I needed. How would I ever get started with the first batch?
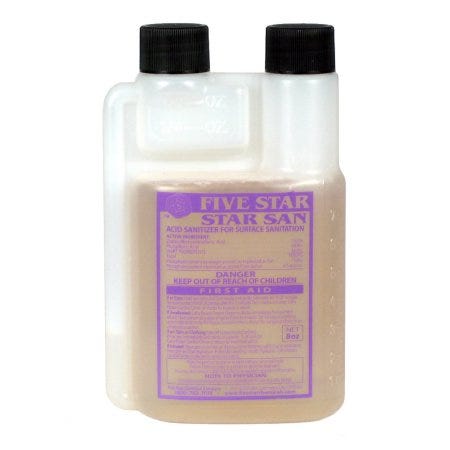
As usual my husband and I looked to technology for the answers and an internet search found a local brew supply store nearby that could provide the extra supplies. We still needed metabisulfite for sanitizing in addition to bottles and corks to finish the job. Always my hero, my husband trekked out and returned with a package of caustic white powder and a no rinse sanitizer called Star San that the clerk recommended. We have been grateful to our local brew store for their advice and wisdom ever since. Based on their recommendation, Star San has been our go-to sanitizer of choice ever since. Suprisingly, we couldn’t learn everything from technology!
I had many more questions, and research helped me understand some of the puzzling processes and ingredients.
There’s a difference between cleaning and sanitizing — Cleaning removes dirt from equipment, but it doesn’t remove bacteria. Sanitization will rid equipment of any microscopic “baddies” you don’t want invading your juice before it becomes wine. All you do is use your kitchen sink, fill it with a few gallons of water (mine holds about 4) and mix in a small portion of sanitizer appropriate to the amount of water. Dip and go! Either rinse after a couple of minutes, or use as is. Star San is no rinse, which is why we like it.
Degassing (no, it’s not what sounds like!) —This terminology is unique to kits, but it is to be expected with kit winemaking. Think of this as vigorous stirring, most effective with a drill mounted stirring tool.
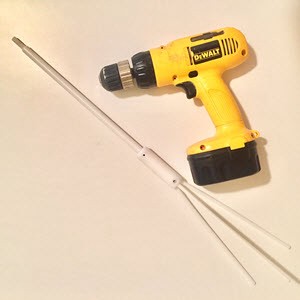
- Our tools for degassing wine
This tool doesn’t normally come with an equipment kit, but we found it essential after our first reds were bottled too soon and retained a sparkle even after being in the bottle for 3 years! If you don’t want to degas (commercial wineries don’t), you can decide to wait for the CO2 to naturally dissipate from finished wine (depending upon temperature, about 9 months). But if you bulk age, see the note later called “Stay on Top of It.”
Metabisulfite — There’s that word again! This multipurpose chemical is used as both a sanitizer and a preservative. As a sanitizer mixed with the right proportion of water, it will kill most airborne bacteria. As a preservative in a much smaller portion it will protect the wine from oxidation. It’s also the thing that makes people worry about “sulfites” in wine, but it’s naturally occurring. In large doses it is an irritant and some people are more sensitive than others.
Oxidation — We like the effects of oxygen in wine at the right step, in the right wine and in miniscule quantities. Oxidation is a naturally occurring process over time. But we don’t want our wine oxidized too fast or with too much oxygen, so we protect it with the metabisulfite mentioned above.
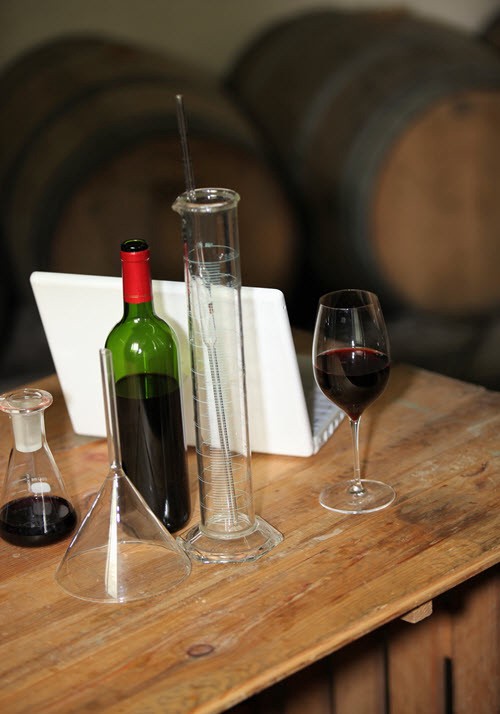
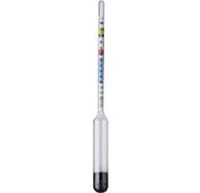
- Hydrometer in a test tube for measuring specific gravity
Sorbate — I think of this as yeast birth control! It’s used to stop wine from multiplying after fermentation is complete. This is a necessary step if you want to sweeten your wines, but not increase the alcohol content. Yeast will eat sugar if it can. Sorbate will not stop fermentation, but it will keep yeast from re-fermenting.
Specific Gravity/Brix — This is the easiest reading to take and a key measurement to track the potential alcohol content of your wine. For accuracy, you need readings both before fermentation starts and after fermentation completes. Home winemakers have started their first batches without this measurement, but they always wonder what the alcohol content is at the end. Although I haven’t used it, the equipment necessary to measure alcohol after fermentation is expensive and complicated.
My advice for your own research:
- Technology doesn’t always have the answers
- Get to know your local brew store or find a mentor
- Watch videos — youtube is a great resource for understanding winemaking in action
After all this, I finally felt ready. But would the wine turn out ok? Did I know enough to get started?
Starting our first home made wine
When we were ready to begin our first wine at home, we were relieved to find the process was simple. But we still weren’t sure if we knew enough to make the wine we enjoyed commercially.
We started with the juice concentrate and followed the instructions to add bentonite and water using the bucket provided in our wine equipment kit. Our hydrometer measured the sugar content and we marked the temperature down in a spreadsheet. An addition of oak chips and yeast completed the first step and we put our fermenter aside. We did have some difficulty figuring out how to use a racking cane and hose to siphon, but YouTube was a great resource! If you’re interested, you can see my Demostration of siphoning.
We learned how to fill the racking cane and hose with water and then use gravity and a pitcher for overflow to start the flow of wine. A few missteps and spills helped us appreciate the tile on our kitchen floor!
After a month of racking, adding stabilizing ingredients and degassing, our wine was ready. We were so proud of what we had accomplished! It was drinkable, or at least we thought so (this evaluation was backed up by friends and family, but they may be biased).
That first batch has led to 72 others and a class for appreciating aromatics and taste in wine.
Now, I’m always on the lookout for new wine varieties and styles to become a better winemaker.
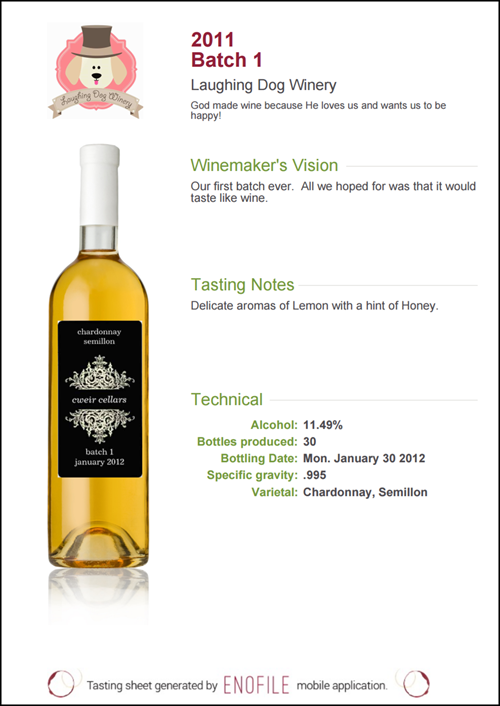
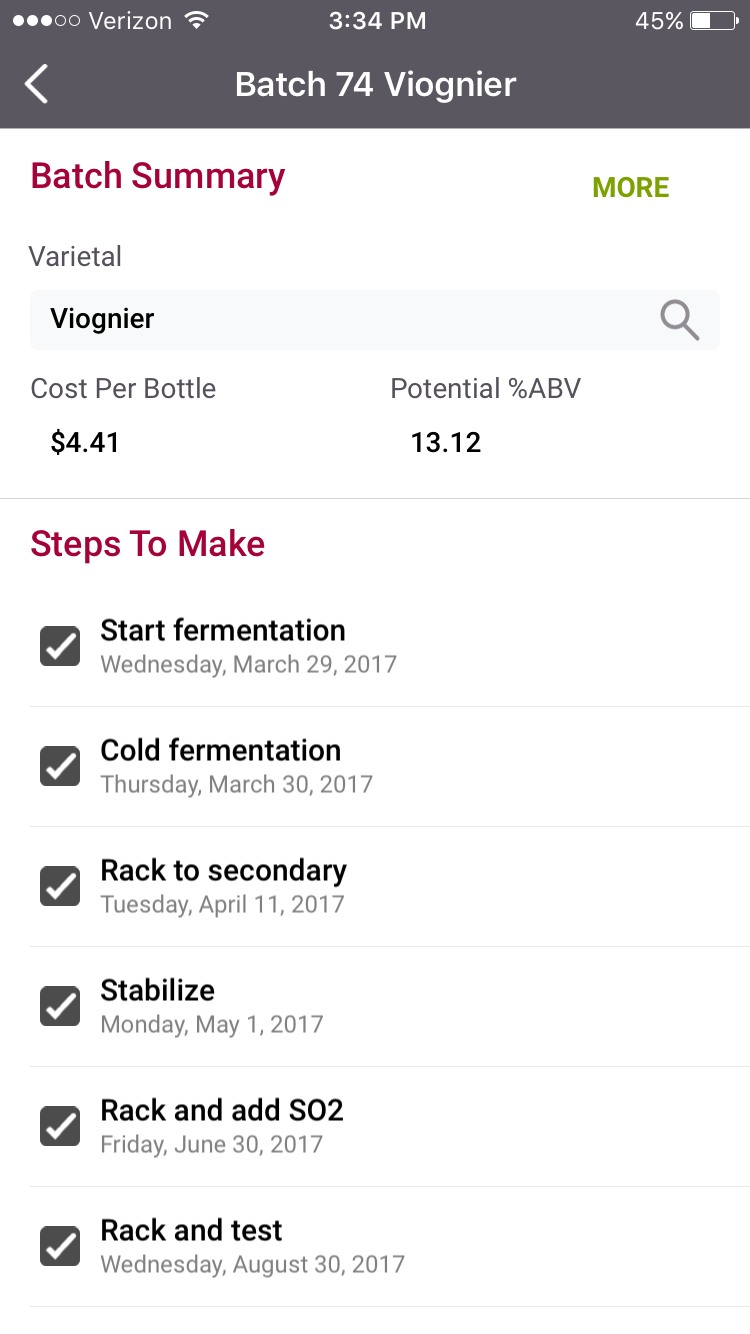
I wish I’d had our home winemaking app, EnoFile at the very beginning to help capture our steps, progress notes and photos of the experience along the way. It creates a great technical sheet for the batch, as well!
Getting started
A kit is a great way to start the hobby as it does take you through most of the process step by step. But there are more things to consider:
Choose a kit — There are many manufacturers that make wine ingredient kits that you can find online or at brew supply shops. We had no idea where to start, but looked for ones that were award winners in previous years. We found lists of previous year winners from Winemaker Magazine. We chose to start with a Chardonnay/Semillon blend since white wine was a family preference. If you like a commercial variety, start with that.
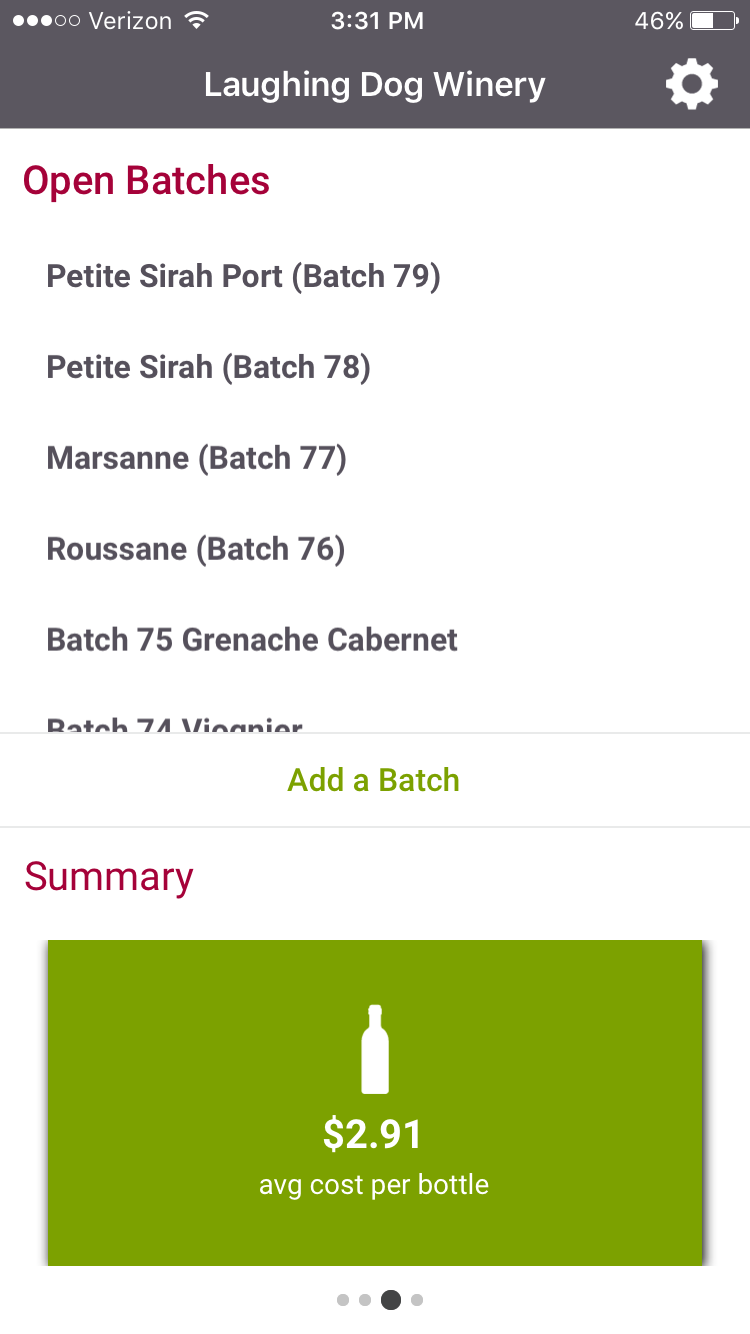 Understand the costs — 6 gallon kits range anywhere from $60 to almost $200, but even less if you work with 1 gallon kits. Our first kit was around $100 and the equipment kit was about the same. By the time we included the bottles and corks we needed we had invested approximately $250 into our first batch. Since the kit made 30 bottles, it was a bargain at $8.34 a bottle compared to commercial wine we were buying. Equipment costs don’t reoccur, so each new kit reduces the cost. If you reuse bottles or get them from friends, you can save even more per batch. EnoFile calculates our current average bottle cost at $2.91 a bottle.
Time in a bottle — Like all hobbies, winemaking will take as little or as much time as you want to give. If you make multiple batches at once, then it’ll take your whole Saturday morning to manage them all. Most of the steps take about an hour, spread over 3 or 4 steps in 6 weeks. The longest step is bottling because it requires sanitizing, filling and corking 30 bottles (not to mention clean up). It’s taken us 2 hours or so on a single batch. And since we are a multi batch family, we actually save time by bottling more batches at once. We normally save a Sunday afternoon for this and are finished in time for dinner. Granted, we started this hobby as we were looking forward to becoming empty-nesters and some free Saturdays.
Better together — We love making wine! Not only do we have a fun activity as a couple, but our friends and family have gotten involved. We take pictures of our progress and share the photos on Facebook. Our friends also get to share in the experience. We’ve made wine with them as well. And although they’re not winemakers themselves, they pitch the yeast and help on bottling day. For these batches, we can count on laughter, some mishaps, and good wine with friends!
Tiny house? No problem! — Space required depends on how much you make at once and how many bottles you want to store. If you’re making 1 gallon at a time (only 5 bottles), it can definitely fit a small closet. We make wine in our kitchen to keep a sink nearby, but we store most of the equipment and supplies in the garage. And on a multi-batch day, we run back and forth. But I don’t mind since I don’t have to go to the gym!
Water to wine in 3 months — Some kit wines advertise they’ll be ready in 4 weeks, others claim 8 weeks. My lesson is, they aren’t. Early bottling of “effervescent” wine taught me that perfect temperature control and degassing conditions have to align to bottle in the time recommended by the kit. Even with degassing, CO2 remains in our wine for about 12 weeks. Althought kit wines are made to drink young, we usually bottle white wines after 3 months and open at 9 months. Reds take even longer. To me, red wine tastes like mud for the first year, but then improves surprisingly after that. Heed the warnings on your kit instructions to add extra metabisulfite if you leave the wine in the carboy beyond 8 weeks.
Give it away — If you’re considering giving a wine ingredient kit for your spouse or friend, I’d first have answers to these questions: Has the person mentioned interest in wine processes and wine making? Does the person have some free time they’d like to fill? Are you willing to take up the hobby to make it a joint effort? If all these answers are yes, then perhaps you should consider a combination gift of both wine ingredient and equipment kits (you can’t make wine without both). If you’re not convinced by your answers, then give your friend a bottle of commercial wine, instead!

Clean and Sanitize — Don’t forget both important steps. If you buy something already clean, sanitize right before using.
 Take readings — Start by taking the specific gravity and temperature every time you touch your wine. A before and after fermentation reading of specific gravity will let you calculate the alcohol content at the end. EnoFile will do this for you automatically. It’s also important to keep the wine within the recommended temperature ranges from your recipe. If it’s too high, use sanitized frozen water bottles to bring it down. If too low, set the fermenter on the corner of a heating pad.
Stay on top of it — Not adding enough metabisulfite was one of our biggest mistakes in the early days of making wine. We bulk aged a red wine for a year and we only added metabisulfite twice. Now, two years later when the wine should be getting better, it continues to have flat aromas. This was disappointing, but taught us about how important reminders can be! If you’re aging wine before bottling, make sure you add the appropriate amount of metabisulfite for your quantity every 2 months. EnoFile can set up reminders on your calendar to alert you on the appropriate day.
Find experts — You may want to join a home winemaking club or a Home Winemaking facebook group. You’re not the first home winemaker and others are often happy to help. Each of the home winemakers who helped test the usability of EnoFile were generous with both their time and knowledge. Your local brew store also has experts who are delighted to answer what you might think are bizarre and unusual questions.
Have Patience — It’s true that most wine is better with age, and this is especially true for red wine. Don’t rush the steps of winemaking. Both clarifying and aging often take longer than expected. Even fermentation can take longer than you think, depending upon temperature.
Enjoy — Celebrate the first batch you make or laugh at yourself if it’s not as good as you expected. This is a fun hobby and it will produce quality rewards you will be able to enjoy for years to come.
Finally, don’t be intimidated by the art of winemaking. Much expertise and knowledge is available to get you started. Google, Facebook, and YouTube can help!