Play with Ingredients
My first forays into adding to kits were motivated by making wines that my family would like even more. This led me to add more oak flavor and even change the yeast.
 Swap the yeast — After making our first Chardonnay with EC-1118, we liked the wine, but my sisters are used to the strong butter and vanilla flavors in their California Chardonnay. Turns out that different yeast can actually add to the flavors of a wine. So I started researching the qualities that wine yeast can add to a wine chose one that was meant to enhance the butter flavors in white wine. Caution: don’t replace the yeast without adding some nutrients. We bought Go-Ferm to supplement our yeast needs as well as Fermaid-K to add after the yeast had converted 1/3 of the sugar.
 Drop your white fermenting temperature — Working with new yeast means knowing more about the conditions it prefers. One of the biggest effects on the aromas that yeast can leave behind is temperature. You may have read that higher fermentation temperatures can “burn off” flavor profiles. Therefore, a big change you can make without a lot of effort is to drop the fermentation temperature. Different yeasts come with different temperature ranges, and it’s pretty easy to look up the temperature specifications of the yeast you’re using. And in the case of white wines, the fermenting temperature of commercial wines is much lower than expected of the wine kit manufacturers.
One of the biggest changes I made to all my white and rosé wine kits was to start fermenting in a cold bath to keep the fermentation temperature below 60 Farenheit. All this took was the purchase of a large watertight garbage can and a few frozen 1 gallon water jugs. Allow the yeast to start as usual overnight and put an airlock on the primary fermenter. Once fermentation is visible in the airlock, lower it into the garbage can and fill the can with water to just beneath the outer rim of the fermenter (about the same level as the juice contained within). Drop frozen jugs into the external water chamber two times a day and this should keep your fermentation temperatures between 55 and 60 degrees while air temperature is at normal room temperature (about 75 degrees).
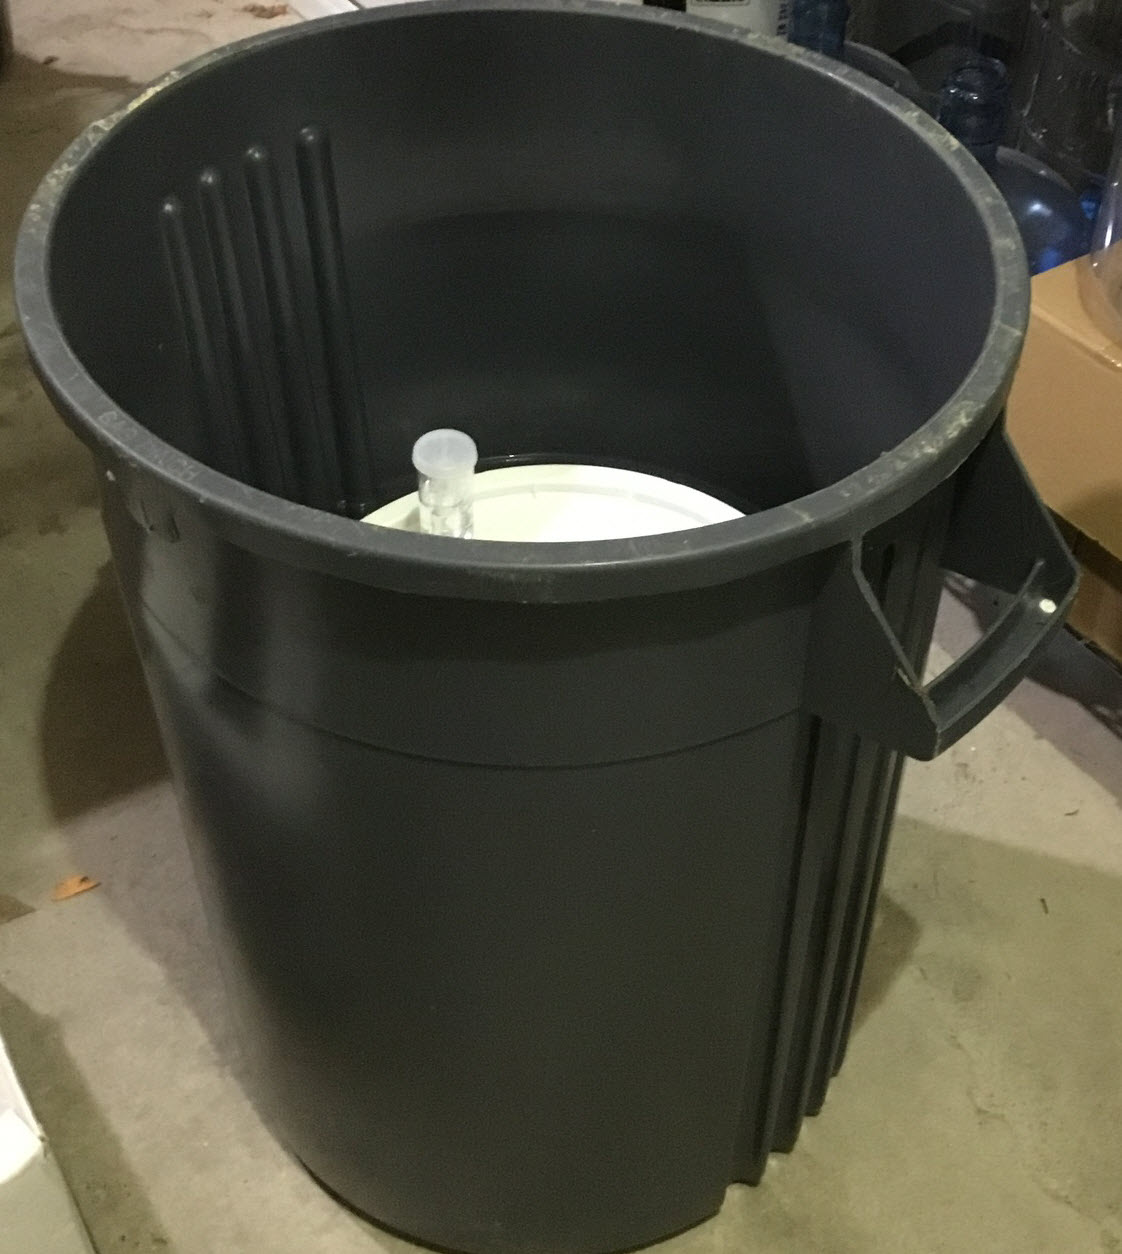
I use a floating thermometer in the water to check the temperature twice daily and change out the frozen jugs about the same time. Because temperatures are lower, it will take slightly longer to ferment, so leave the wine alone until day 10-12. At this point, it’s likely to be lower than 1.010 specific gravity. Lift the wine out of the water bath, place on a higher surface and rack as you normally would into a smaller carboy. You might try this fermentation method side by side with a 1 gallon kit to see the difference in fermentation levels.
Caution: The lower temperatures will retain more of carbon dioxide in the wine, so be careful on degassing day. Expect more volcanic overflow of the carboy and remove at least 1/5 of the wine to help keep everything contained within the carboy. This wine can be manually degassed outside of the carboy and added back to the wine to top up after degassing.
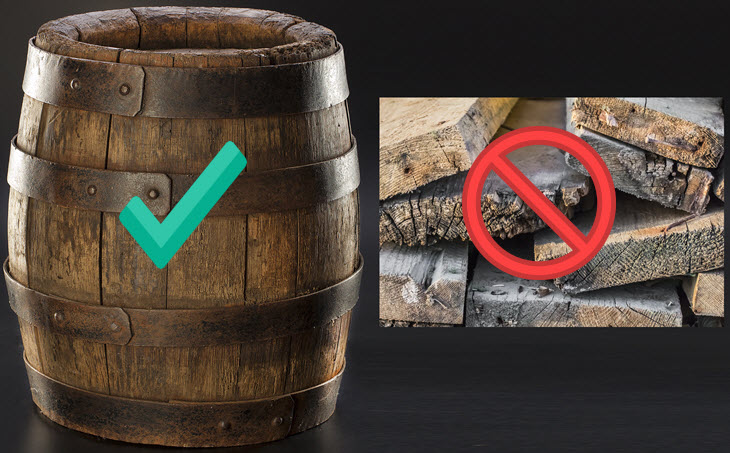
Pump up the oak — I was fascinated by the “sister Chardonnay problem” from my first Chardonnay, so I started researching how commercial wineries make theirs more buttery. I found that commercial wineries that barrel age are getting more oak than the small bag of oak chips provided by the 30 gram bag in the kit. My next trial was to double the oak by adding what was provided in the kit and also adding 30 grams of the French oak chips. This definitely changed things up a bit and added a vanilla flavor that was much richer than the original 30 grams provided. If you’re going for a bold vanilla flavor, you can ferment on more oak, but for white I wouldn’t try more than 100 grams per 6 gallon kit. For a red, you can go up to 150 grams.
In addition to oak chips, you can also try adding oak cubes to add a more oakey flavor after fermentation is complete. Start with 30 grams and never leave your wine on oak cubes for more than 1-2 weeks without tasting. You don’t want your love of oak to turn into wine that tastes like a plank of wood!
 Try adding a flavor ingredient—This is when you’ll need to tap into your ability to discern flavors. If the wine you like has a certain type of flavor or aroma that you can identify, then add something like it to your juice to alter the final outcome of the wine.
Some flavors to try:
- Dried cranberries or currants
- Dried raspberries
- Banana chips
- Sweet basil or lemon thyme
- Mint
- Rosemary
I love the apricot flavor that are typical in Pinot Gris, so I might try adding dried apricots to the fermentation to see what happens at the same time I would normally add the oak.
Fruit will likely add to the sugar content of the juice, so measure the juice on the second day of fermentation to ensure the starting Specific gravity hasn’t increased. This may make your final alcohol content too high. If you add dried flowers or spices, it shouldn’t affect the sugar content, but make sure they are edible. Don’t add anything that might be poisonous or an irritant!
If you’re having a hard time detecting the aromas that you prefer in your commercial wines, try to detect whether you’re smelling fruit, flowers or spices. These general categories may help you decide ingredients to add to your wines. Choosing flowers might mean adding rose petals or lavender, or if you smell spice, you might try cloves or a cinnamon stick. I’ve added dried elderflowers and white raisins to wine to great effect, but I know others have tried herbs and spices.
If I was going to test a new additive, I would likely split the batch so I could keep a control wine and add the ingredient to a smaller portion. By keeping 5 gallons of the normal batch and separating 1 gallon to play with. Not only will you be able to notice the differences between the two, but if the additive doesn’t work out, you haven’t lost your whole batch.
These simple changes to your wine making kits can make a big difference to the taste, feel and aroma of your wine. However, if you want recommendations for more advanced options, check out Take Wine Making Kits Further: Intermediate Techniques or similarly, Stretching the Wine Making Kit: Advanced Techniques.
And as always, the free EnoFile home winemaking app helps you log steps, create tasting notes and print a technical tasting sheet for each batch of wine. Check it out!

Leave a Reply to homecookexplorer Cancel reply