Having gone through a fair amount of learning about winemaking over the past 7 years, I’ve made my fair share of foibles. I’ve opened wine that had a sparkle when it should have been still and I’ve smelled bottles of vinegar instead of the anticipated berries. My worst mistake was throwing out a fruit wine before I played more with sweetening. No one likes to admit their mistakes, but winemaking is an adventure and without someone constantly by your side coaching you, it’s easy to find yourself with unexpected results!
If I was starting my first wine kit today, I would give my first time winemaking self this advice:
- Use food quality sanitation procedures – The reason that home made wine has a bad reputation is because your grandfather did not sanitize (sorry, I’m sure YOUR grandfather made very good wine)! I cannot stress enough how important it is to make certain that the equipment you use is clean AND sanitized so your wine will be the best it can be. I remember washing dishes in a pizza restaurant long ago and this is the concept necessary for wine making equipment. Three sinks: Wash in detergent (unscented like PBW), rinse in clean water, dip in sanitizing solution (no rinse like Star San). If you don’t have 3 sinks (and I only have two), just start with the cleaning step and repeat with the sanitizing step.
- Follow directions, but don’t be too exacting – The instructions for kit wines always give a temperature range and dates to work with, both of which will adjust for the conditions you have in your winery. My first kit red wine advised a temperature range between 72-74 farenheit. I started it in January when temperatures in my house didn’t rise above 65 degrees, so I placed a space heater in the laundry room where I kept the primary fermenter. Needless to say, my electric bill was out of control that month. I also found in my next kit that the fermentation would have completed just a day or two later if I’d allowed the temperatures to fluctuate within my heated home. Just don’t try this if your temperatures drop below 60 F; invest in a brew belt or a heating pad.
- Rack more times than suggested – In my early days, I concentrated on keeping the siphon still while racking, not to stir up sediments. Sometimes that cane just wouldn’t stay still! Sediment can stir up and make a slight cloud in your clear wine. If this happens, don’t proceed to bottling without allowing the wine to settle and racking again and again until NO sediment remains. And a re-settling takes about 2 weeks. If you do bottle and you see small debris in your bottles, then likely you bottled too soon without enough racking. It won’t hurt your friends or family, but I’m warning you; they may compare your wine to your grandfather’s!
- Use a drill for degassing – If you’re going to try to vigorously stir with a manual spoon, do not expect to remove all the CO2 from the wine. The only way to completely degas is if you use a drill mounted stirring device. I have the wine whip, which degasses with just a few whips both forward, then backward using a rechargable drill. The only thing you’ll want to avoid is a degassing volcano as the CO2 swiftly leaves the wine. Remove a bit of wine before degassing to protect your floors from overflow. A drill mounted stirring device should not be used for anything smaller than 3 gallons.
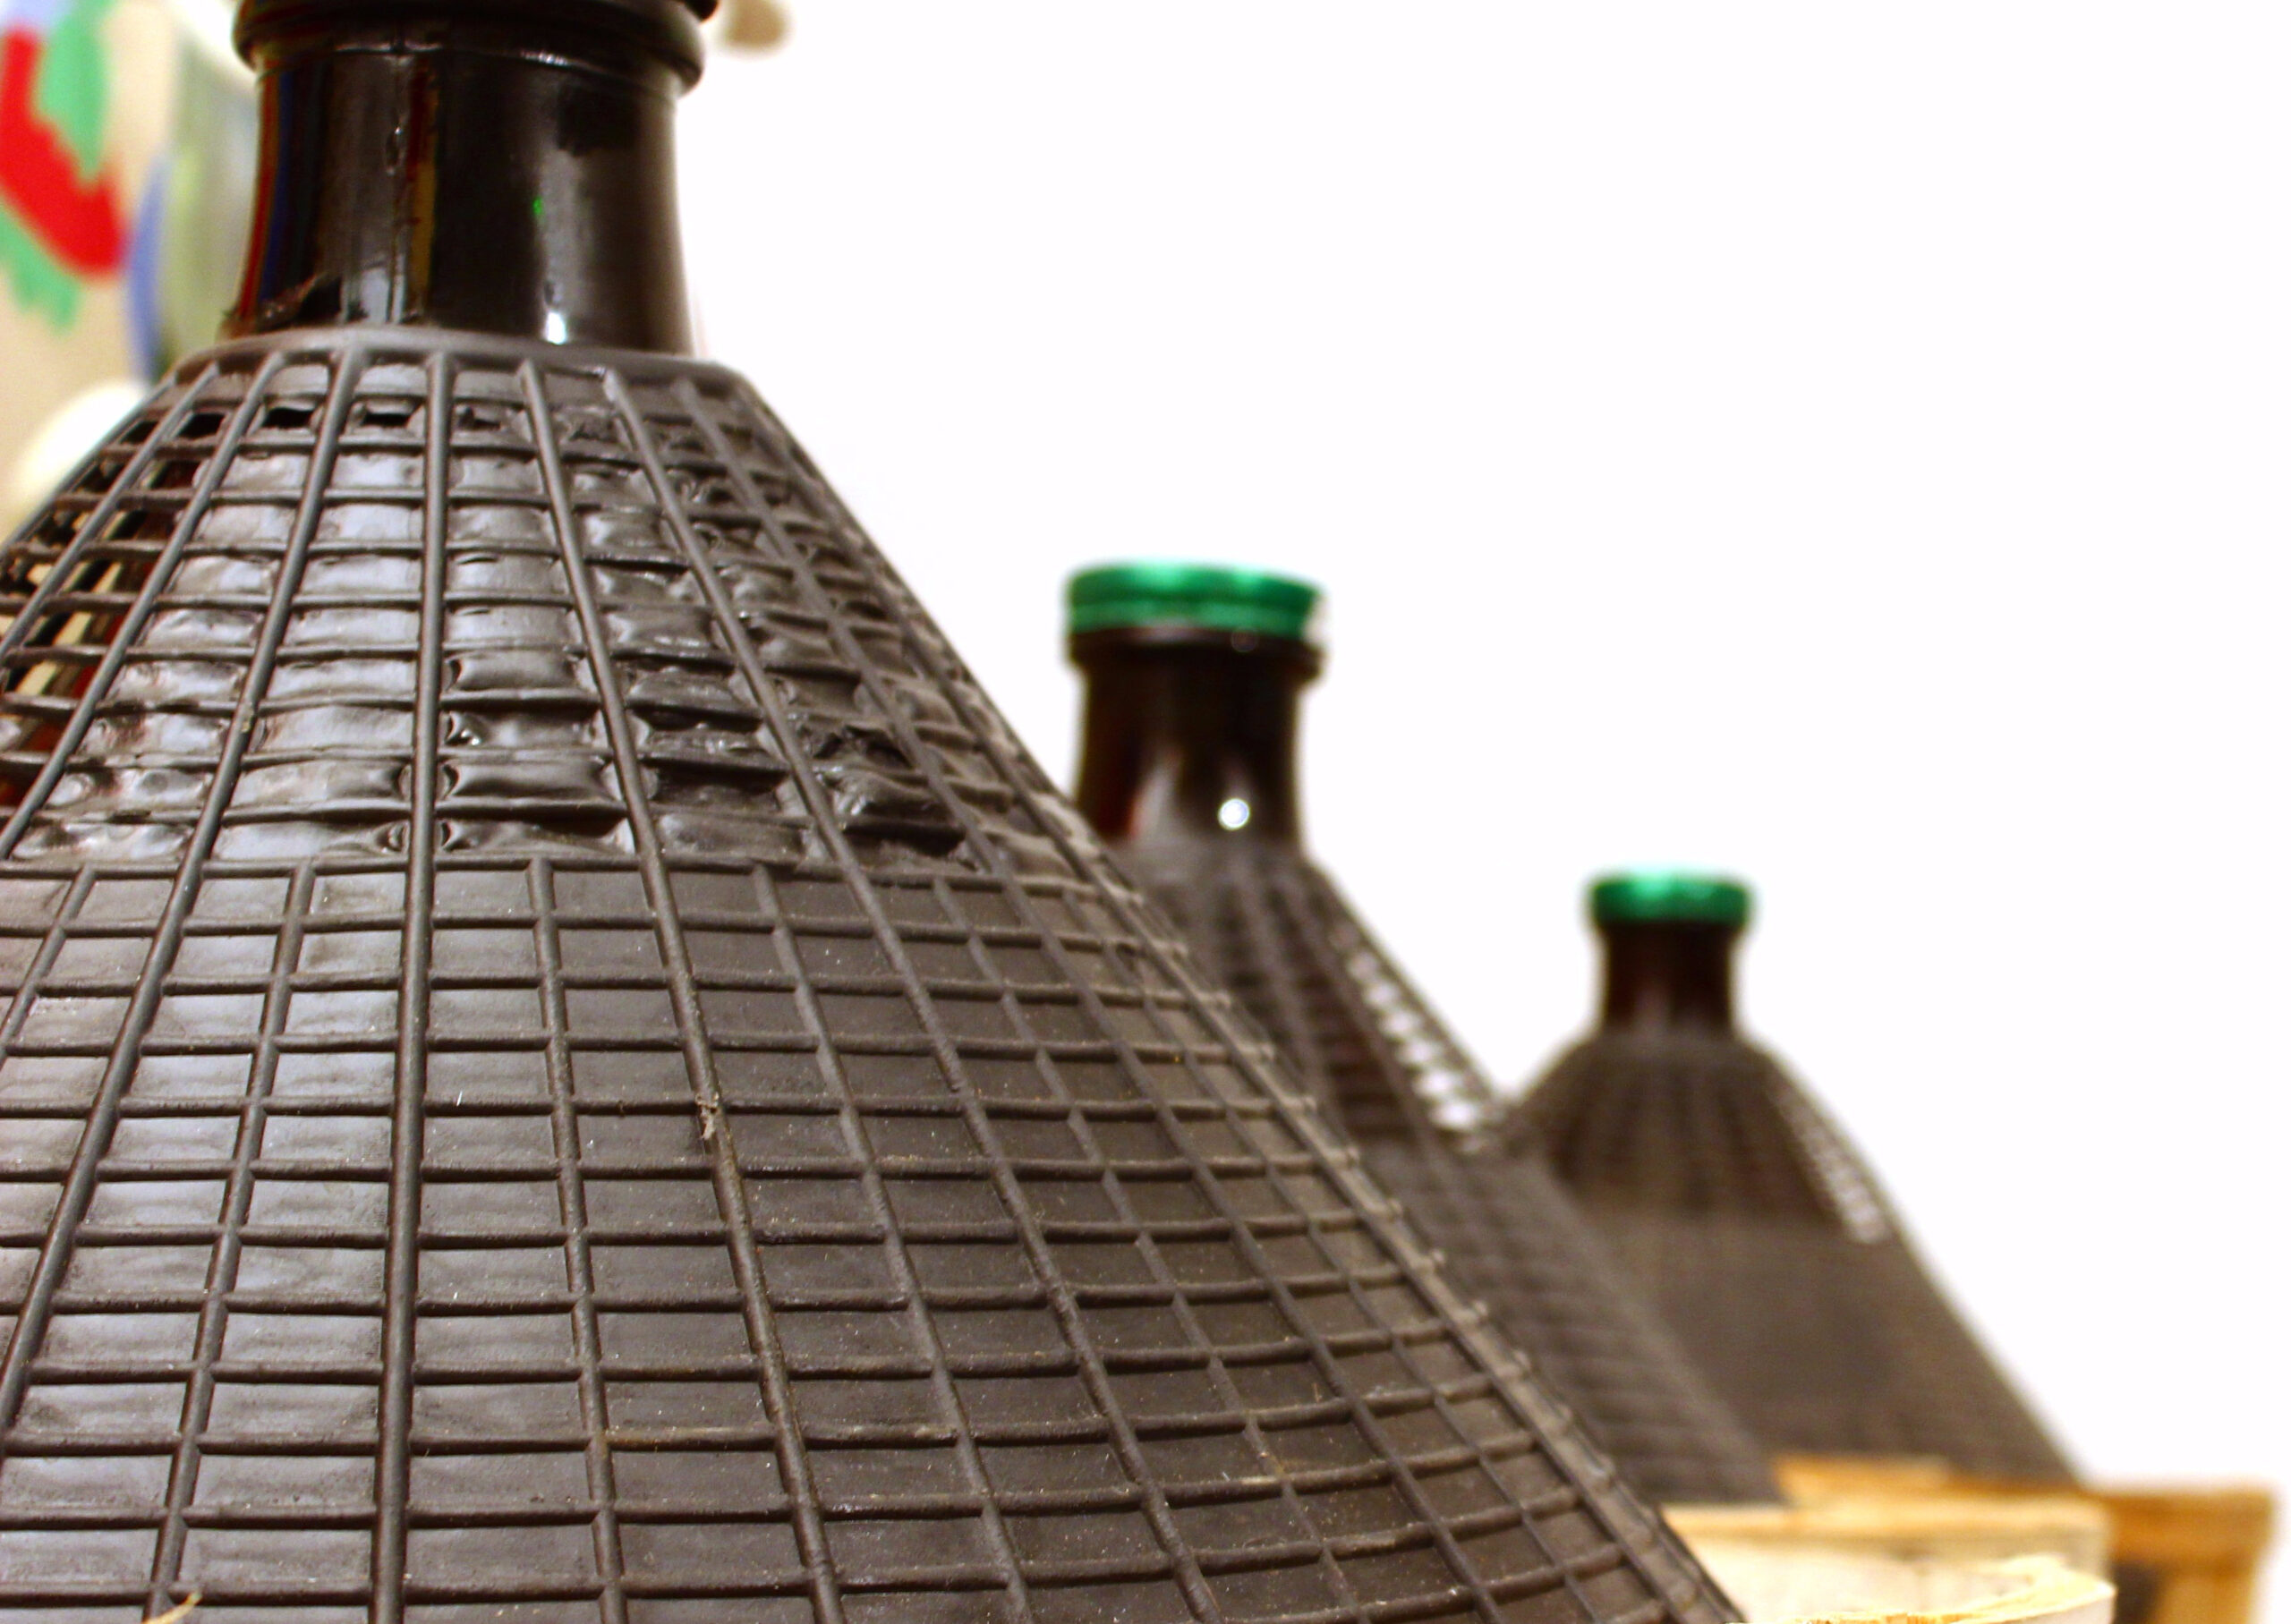
- Keep you wine levels close to the stopper – As you rack your wine further and further down leaving sediment behind, you’re likely to start seeing more and more headspace. Always keep your smaller carboys filled to the top to avoid the contact with air that can oxidize your wine too early. You can use a similar commercial wine or you can use a topping up device that displaces the air-space above the wine. I use a product called Better top ups and using multiples can bring the level of wine right up to the top no matter what size carboy you have. For smaller jugs, I also keep clear marbles on hand and they work in the same way.
- Wait longer than they say to before drinking your wine – Yes, the kit you’ve bought says 6 weeks (maybe 4, maybe 8) till drinking – it’s LYING! If you try it, you will not have given the wine enough time to find it’s “feet.” If you perform all the steps of your winemaking kit perfectly, you still need to wait at least 30 days after bottling to have it taste like it did before bottling. And if you have made a red wine, it will not start to taste like what you expect from commercial wineries unless you wait at least 6 months, more likely 1-2 years. I now wait 3 years before drinking my reds because they have matured enough to taste like the varietal I wanted. Whites, are better if you give them 3 months in the bottle, but I drink them after 6 months in the bottle.
- Buy bottles and corks when buy your kit – Because bottles and cork supplies come in various quantities that do not match, it’s better to be over prepared than caught short on bottling day! I always plan for bottles and corks when I start the kit, rather than at the end so I know I have enough supplies on hand. I’ve made mad rushes to get the supplies I need on the day I need them and bottling is nerve-wracking enough!
- Get a floor corker – My life changed for the better when I bought a floor corker! Prior to the floor corker, I was using a handheld job that required two arms to come down at the same moment to correctly mount the cork in the bottle. Often the corks would stick out from the bottle a bit and sometimes they would pop out the side. A floor corker changed all that. Now I can cork 30 bottles faster than you can say wine maker! It was a step up in cost, but also a valued step up in efficiency.
- Wear gloves when working with chemicals – I had serious concerns when I saw all the warnings on the labels of the cleaning and sanitizing solutions I was going to use. I bought a cheap pair of dishwashing gloves and I use them exclusively in my winemaking. The better ones are fleece lined, but they’re hard to come by. If you or someone you know has ready access to fleece lined dishwashing gloves, leave me a comment! In the meantime, I buy the thickest ones they sell at the grocery store. Just be careful if you’re allergic to latex!
- Write down everything and take pictures – The adventure of winemaking has consumed my life and I’m sure my friends are sick of hearing about it. However, every once in a while I come across someone who hasn’t heard I’m a winemaker and I whip out my photos to show them. I’m proud that I have a giant fermenter in my garage! Or perhaps they want to know what 100 lbs of grapes looks like. I have my cell phone with me at all times during my winemaking process and I capture all my notes and photos in the EnoFile the home winemaking app! Your notes from today will be invaluable as you try to remember what you did in next year’s batch. Keep them handy.
- Find a winemaking community and ask questions – Finally, this hobby has many enthusiastic participants from the novice to the expert and many of these people have questions just like yours and perhaps the experts have already answered them! I belong to several winemaking groups on Facebook that will welcome you into their folds. All you have to be is a lurker and you’ll see lots of valuable information. And if you have a question, there are many people happy to help.
Winemaking is not hard, but it can be intimidating. Kit wines make things easier, but a few basic learnings can help make your first wines something to cheer about.
Leave a Reply