Feeling like a Master Vintner
The following techniques are meant to take kits much further than they were ever intended to go, but with the right skills, award winning wines can be within your reach.
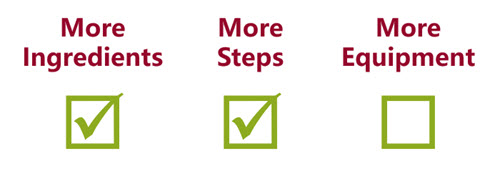 Just add bubbles. — For the easiest bubbles, all you need is a Soda Stream or some other carbonating machine. The first time we tried this, we used a 1 liter bottle and a 750ml bottle of wine. Once we applied the pressurized the CO2, out poured some lovely sparkling wine from the finished bottle. Choose a sweeter wine to offset the acid you add to the wine via CO2.
 Grow Your Own Bubbles
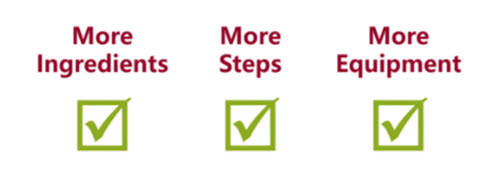
If you want to get really complicated, make the still wine exactly as you would with the normal instructions, but don’t use the potassium sorbate at the stabilization step. Potassium sorbate will prevent a refermentation and you’ll want this to occur after adding yeast and sugar back into your champagne bottles. Buy new champagne bottles only – these should not be reused as micro-cracks may not be visible but might cause exploding wine once the pressure builds up again.
You’ll need to cap your wine tightly with beer caps that fit the bottles – Most Sparkling bottles sold in the US fit a 26mm beer cap. We finally bought a table top capper, after hand capping 2 batches and each losing some of the bottles to poorly seated caps. Our table top capper is a beast of a metal machine and never does us wrong!
Once you have the new bottles and caps, you need an inoculation for fermenting in the bottle. The inoculation can be made with a still wine, sugar and potassium metabisulfite. We racked our 6 gallons of still wine back into primary then created a simple syrup with 2 cup boiling water and 1 3/4 cup table sugar. We rehydrated 8 g of DV10 yeast and stirred both the simple syrup and the yeast gently into the primary. Racking into bottles was standard practice, then we capped each.
The easy way
Leave the wine to ferment in the bottles for 12 months, keeping them upright. When you want to drink them, get them quite cold and pour them gently off the lees at the bottom of the bottle. The last glass will likely be cloudy, but it’ll save you a lot of trouble in the long run.
The hard way (which was our way)
After leaving them upright for 12 months, bring them out, turn them over and start riddling. Still in their cases, turn the bottles onto their caps and give them a twist every day for 2 months. This will force all the yeast into the neck. Once they are well riddled, I put them into my refrigerator on the coldest setting. At 32 degrees fahrenheit, they can be placed into buckets filled with ice and rock salt.
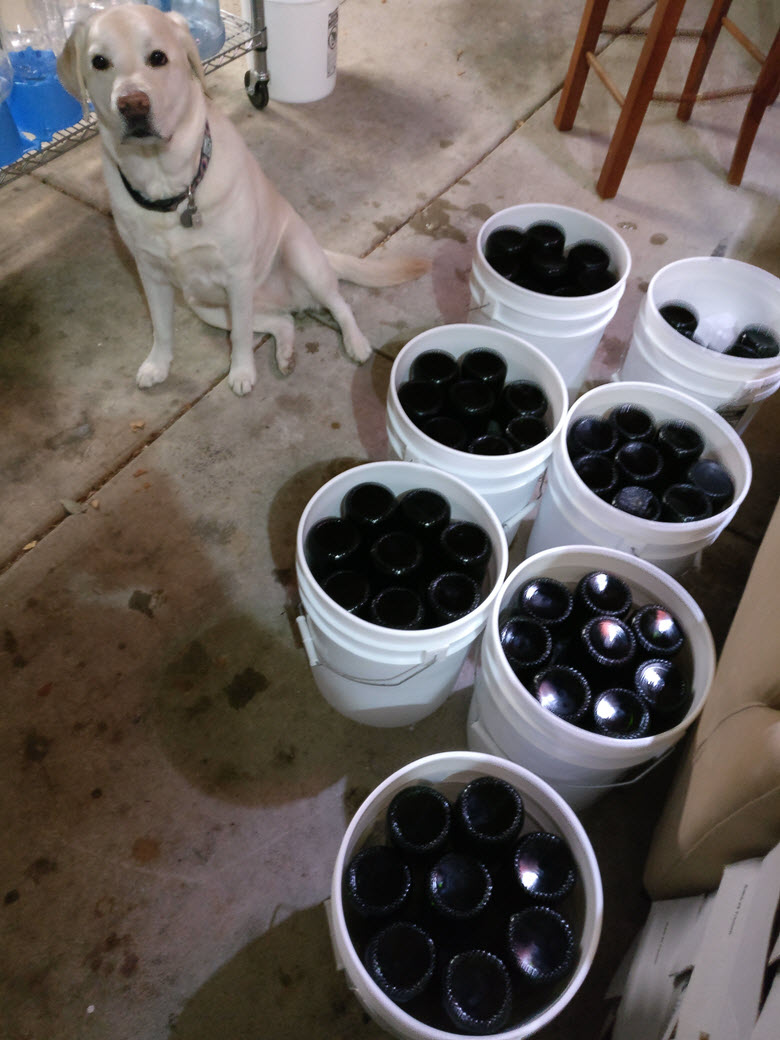
After 45 minutes, the yeast plug in the bottle neck freezes. Uncap them from an upside down position while tipping upwards and quickly putting your thumb over the spurting wine. Warning: This is always done pointing the bottle outside of my garage away from anyone in the vicinity that I love!
Although you can cap it like this and call it brut, I always make a dosage to add before capping. For each bottle, I calculate the sugar addition at 15 grams for each 30 ml of dosage. I also added 1.25 grams of potassium sorbate for each gallon of wine and a small dose of SO2 to protect the wine. This is not an easy process, but we laugh and get covered in wine along the way. I recommend finding a partner!
Buy some frozen must — If you’re looking to try out some of the processes you’ve been missing from kit winemaking, but don’t want to start with your own picked fruit, there are many frozen musts available for purchase. Unlike kits which typically contain juice concentrate, it’s likely to come as pure juice and may be frozen, which will require a couple of days of thawing. White juice arrives pressed off the skins, so it really just requires a recreation of the steps you’ve already taken during kit winemaking. If you buy red juice, it’s likely to still have the skins in the juice and will require a press to remove the skins from the fermented wine. A press and the instructions to use it are always available from your local brewing store. You should reserve it if you happen to make your wine during harvest season.
Depending upon manufacturer, your frozen juice may come adjusted and with yeast added, but even if it does, you’re likely still going to need additional potassium metabisulfite and potassium sorbate to stabilize the wine. You may also need a fining agent such as you’ve used in the kit, if you’re hoping it will clear early.
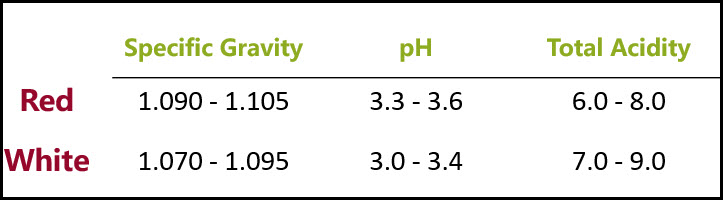
The juice may come fully adjusted with the readings indicated on the side, or it may have been frozen just as it was crushed from the field, all readings and adjustments still needed. At the very least, once your juice is frozen, you should take your Specific gravity to know the sugar content and take the pH of the must. A good starting place for juice are the following measurements:
Start from scratch — We were 4 years into kit winemaking before we actually picked our own grapes. Previously, I had tried must and making small batches of fruit wine, none of which turned out great, but when we learned from a friend that we could go and pick our own grapes in the vineyards near our home, we jumped at the chance to try it.
Get prepared
Prior to the pick, I did a lot of research about what it takes to prepare juice and how we might style it the way we wanted. We also bought testing equipment to measure pH and acid levels, having had a hydrometer from the start. The broker who found the grapes for us brought his crusher/destemmer to the vineyard so we didn’t need to plan for how to crush. We did need to reserve a press from our local brew store for two weeks into the future beyond the pick date. We needed 4 primary fermenters to fit the 200 lbs of grapes we were picking and I sanitized them all and brought them to the vineyard. These primaries were 7.9 gallons and we learned that 200 lbs of crushed grapes fit into 4 of them quite nicely. I also picked out the yeast that worked best for reds, considering this was going to be a batch of Zinfandel and wanted to ensure we fermented on oak, so bought enough oak chips to add the vanilla characters at the beginning of fermentation. I also found oak staves for oak aging after press. All of these go into an electronic shopping list that I make sure is ordered well before the pick!
After the pick
At harvest, I used a 10% solution of potassium metabisulfite at the vineyard to kill all the wild yeast and other beasties that were on the grapes. Not having a freezer large enough for 200 lbs of grape juice, I researched a methodology of cold macerating our red grapes by switching out frozen water jugs 2 times a day. Keeping the grapes below 50 degrees F in the California August heat was quite a feat! Once we cold macerated, pitching the yeast and the fermentation went just like a wine kit with skins, except that the skins were mixed in with the juice. I was surprised to find that the skins sunk to the bottom once the juice fermented dry. I guess at that point, the CO2 output wasn’t enough to keep pushing up the cap.
A pressing event
The day started early with my husband picking up the bladder press and instructions from our winemaking store. He brought it home and set it up to see how it would work with just water. This press was nothing like I expected after having seen so many manual presses in winemaking photos! Instead, it had a perforated barrel on the outside and a large, water filled sausage in the center. We were surprised to learn that the bladder pressed the skins from the inside of the barrel to the outside. With a water test, we quickly learned why there’s a canvas cover. Without it, the wine squirts at all angles through the perforated barrel onto your driveway! We were able to squeeze the skins and got 12 gallons of wine from our 200 lbs. It was our largest batch to date! Pressing ourselves allowed us to finally learn what gross lees look like when the juice settled with a heavy layer of goo at the bottom of my carboys.
Just like my kit winemaking, I had prepared my ingredients and purchased all the same stabilizers that are included in the wine kits, potassium metabisulfite, potassium sorbate and a clarifier I found called Super Kleer. After racking off the gross lees 5 days later, I added my stabilizers, topped up my wine and put it aside to rest for my normal 6 months bulk aging.
Trying new things with kit winemaking doesn’t have to be intimidating. Start small and try things to see how they work. I would never tell my kid to do as I say, but not as I do. Instead, do as I do and take charge of the wine you want!
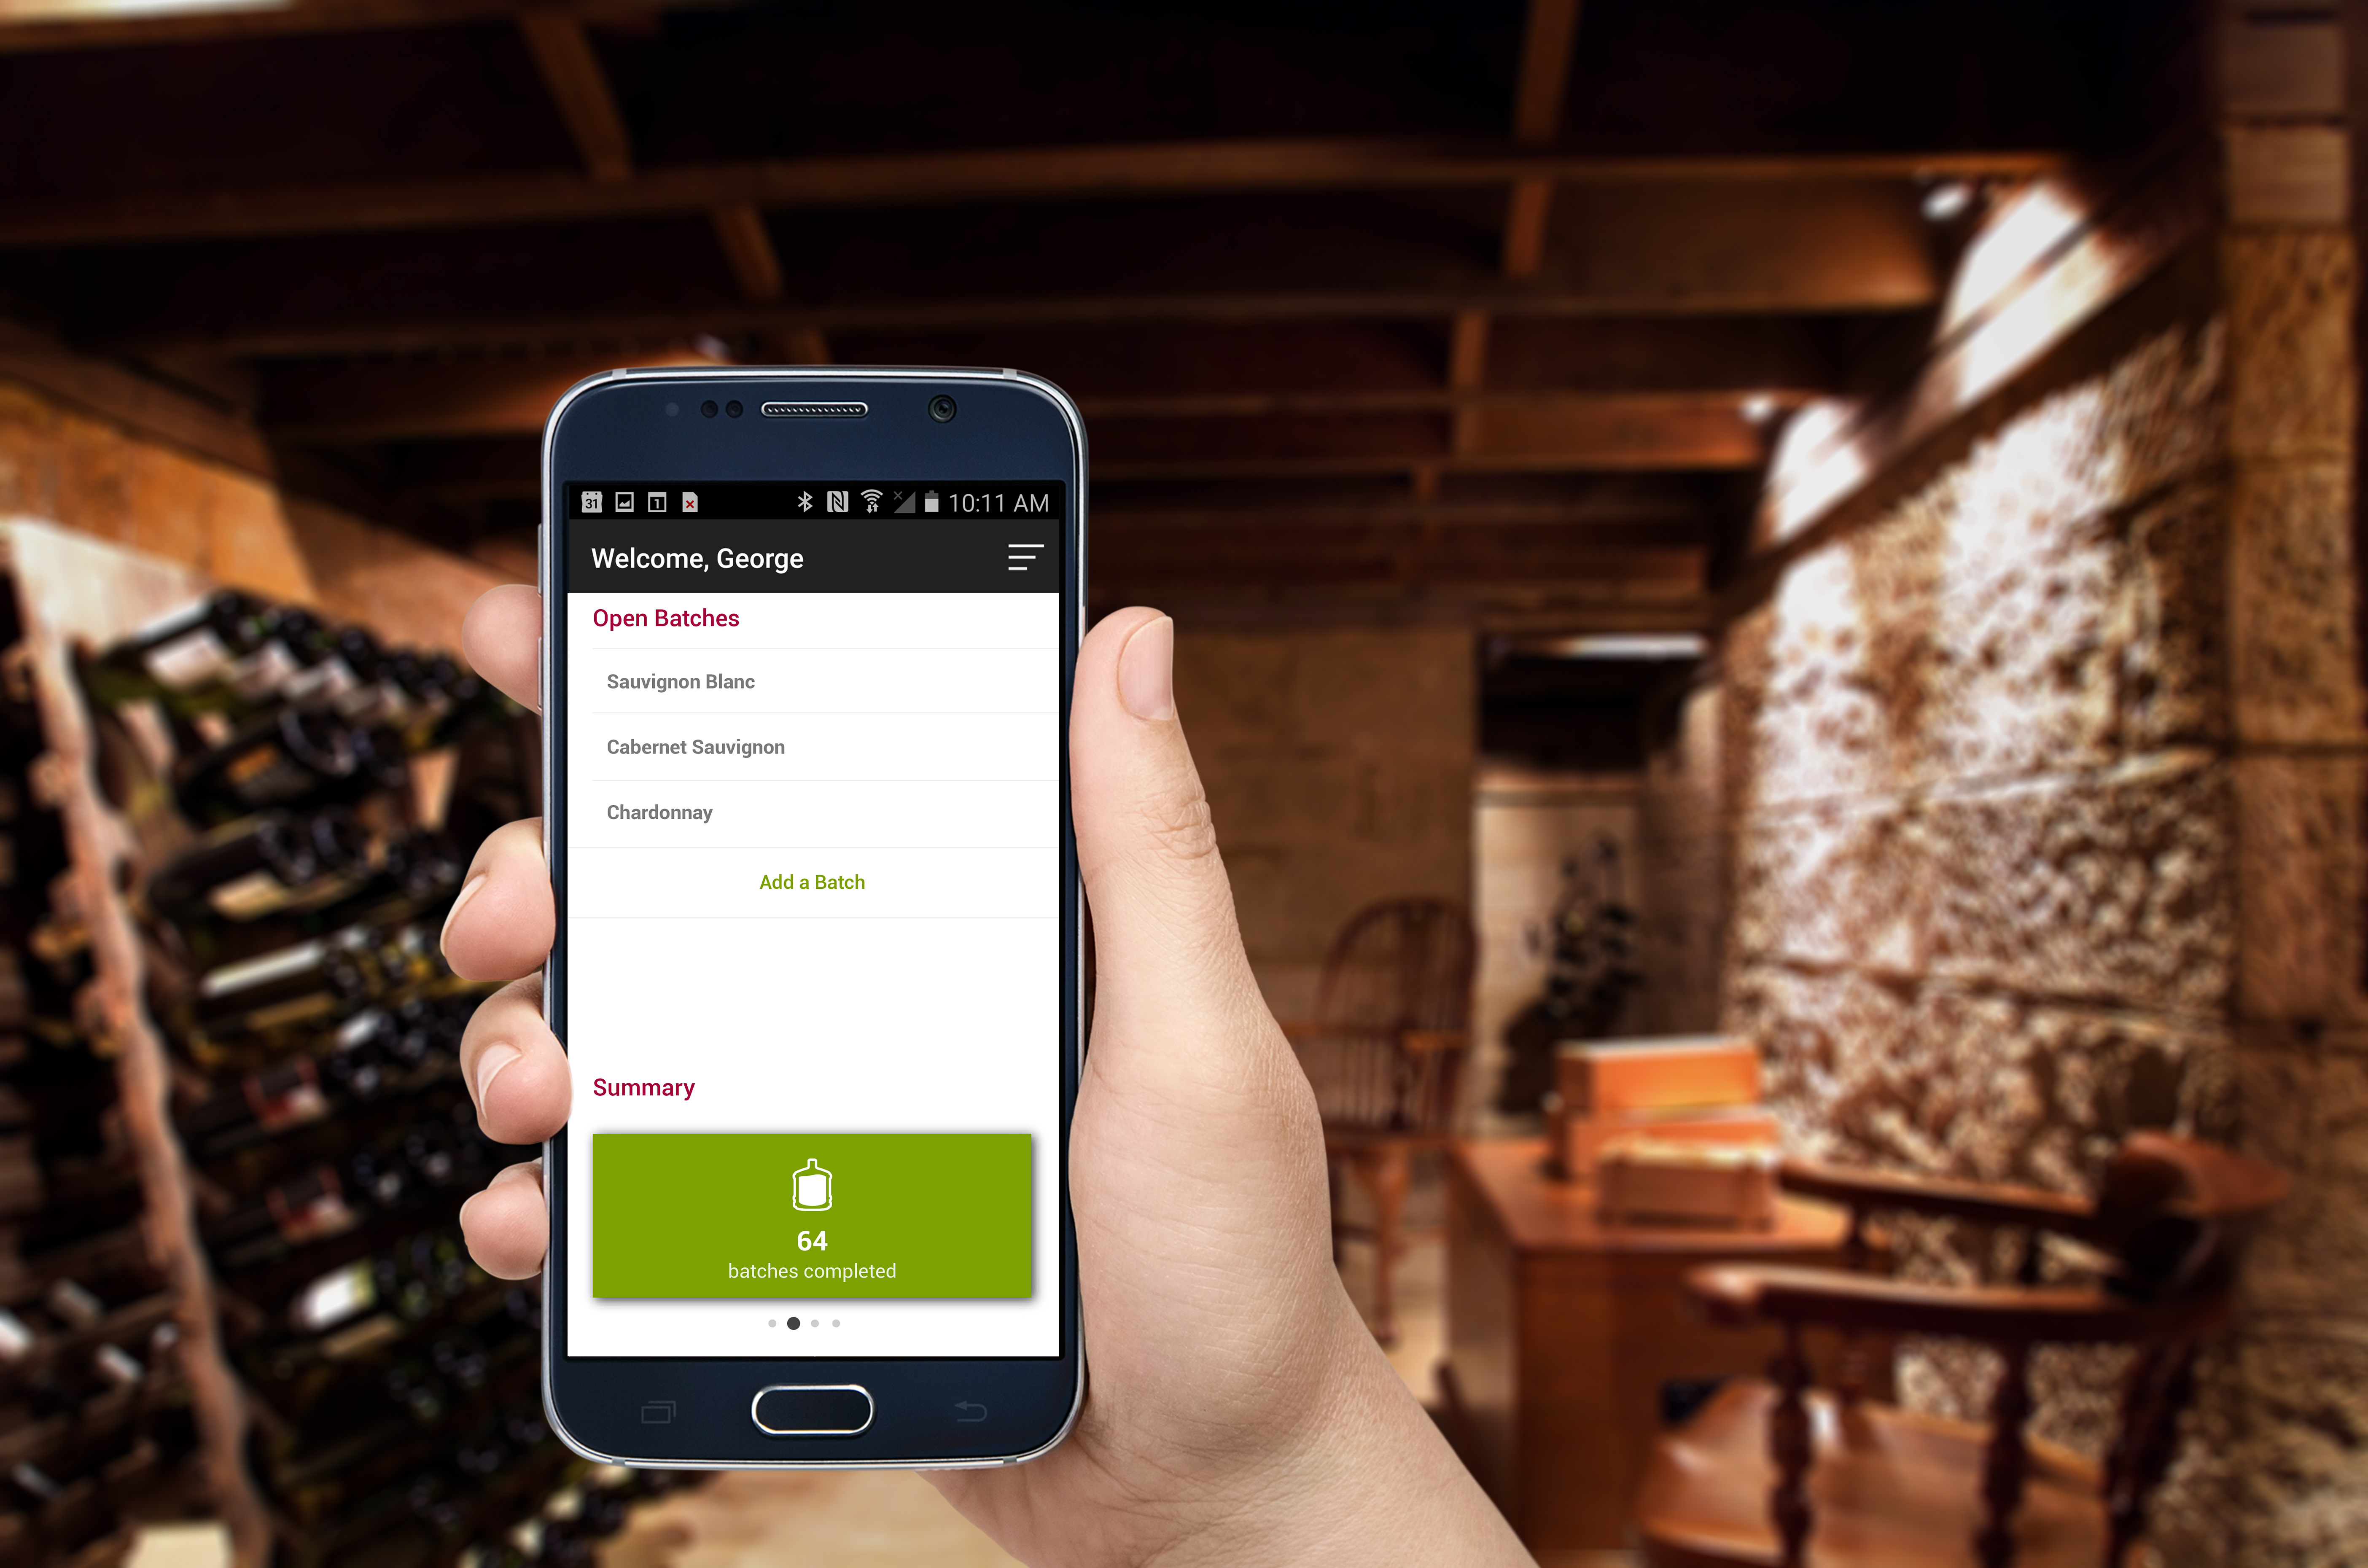
The free EnoFile home winemaking app helps you log steps, create tasting notes and print a technical tasting sheet for each batch of wine. Check it out!
Leave a Reply